8 Emergency Roof Repair Tips for Homeowners
Roof damage can strike when least expected, leaving homeowners scrambling for quick fixes to prevent further harm. From severe weather to wear and tear, a variety of factors can compromise your roof’s integrity, such as:
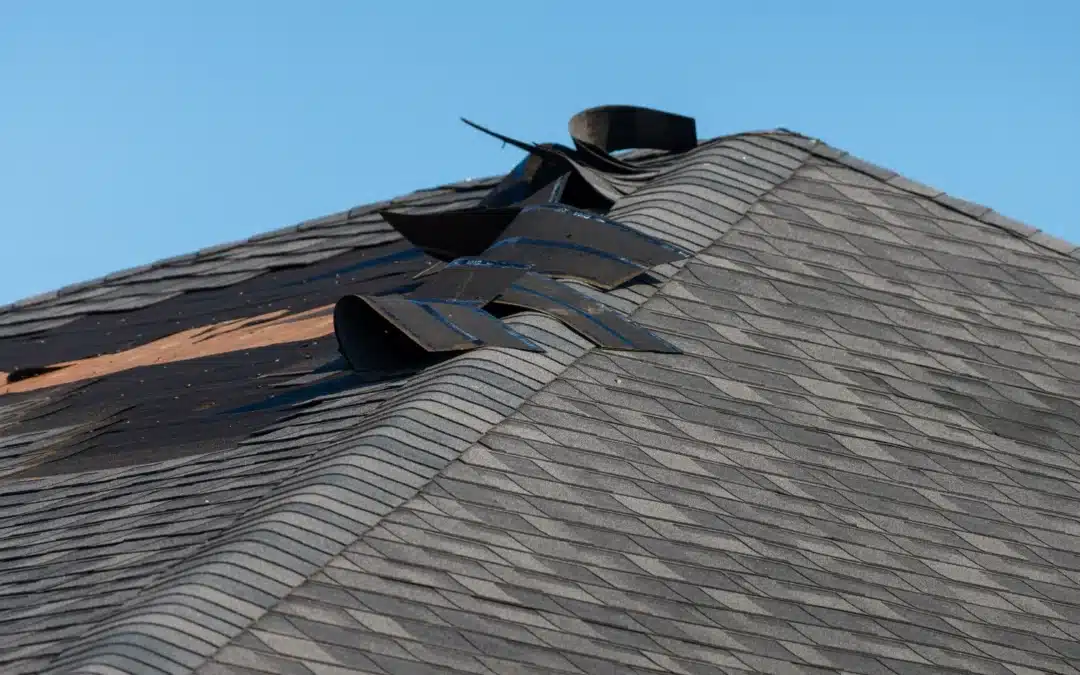
- Storm Damage: High winds, heavy rain, and hailstones can all cause significant harm to your roofing materials.
- Ice Dams: Accumulations of ice along the edges of your roof can cause water to back up and leak into your home.
- Tree Branches: Falling branches or overgrown limbs rubbing against your roof can wear down shingles and create openings.
- Aging Materials: Over time, shingles and other roofing materials can deteriorate, leading to leaks and other issues.
Understanding how to address these emergencies can save you time, money, and stress. Here, we provide eight essential emergency roof repair tips to help you manage any roofing crisis effectively.
Pre-Repair: Assess the Damage
Before you start any emergency roof repairs, it’s crucial to assess the extent of the damage. This helps you determine whether you can handle it yourself or need professional help.
Begin with a visual inspection from the ground. Look for loose or missing shingles, debris, and visible signs of damage. If you can’t see clearly from the ground, use binoculars to get a closer look. This allows you to spot smaller issues that may not be immediately visible.
Head into your attic and look for signs of water damage or leaks. This can give you an idea of where the problem areas are located on your roof.
1. Temporary Roof Patch
One of the quickest ways to stop a leak is to apply a temporary roof patch. This is a short-term solution until you can make more permanent repairs. You can use roofing cement, tarps, or even duct tape to seal off the leak temporarily.
- Materials Needed: You’ll need plastic sheeting, roofing tar, and a trowel. These items can provide a quick fix until a permanent repair can be made.
- Application Process: Place the plastic sheeting over the leak and secure it with roofing tar using the trowel. This will prevent water from entering your home during the next rainstorm.
- Safety first: Always ensure you’re safe when climbing onto your roof. Use a sturdy ladder and consider wearing a harness if the roof is steep.
2. Replace Damaged Shingles
Replacing damaged or missing shingles is a relatively straightforward task that can prevent further issues. Here’s how to do it:
- What You Need: Gather replacement shingles, roofing nails, a hammer, and a pry bar. These tools will allow you to remove the damaged shingles and secure new ones in place.
- Removal Process: Use the pry bar to lift the shingle above the damaged one and remove the nails. Carefully slide the damaged shingle out.
- Installation: Slide the new shingle into place and secure it with roofing nails. Ensure it aligns with the surrounding shingles for a seamless look.
3. Addressing Ice Dams
Ice dams can cause significant damage if not dealt with promptly. Here’s how to safely remove them:
- Tools Required: You’ll need a roof rake, calcium chloride ice melt, and a ladder. Avoid using rock salt as it can damage your roof.
- Removal Steps: Use the roof rake to remove snow buildup from the edges of your roof. This helps prevent ice dams from forming.
- Ice Melt Application: Place the calcium chloride ice melt in a nylon stocking and lay it across the ice dam. This will slowly melt the ice and allow water to drain off your roof.
4. Securing Loose Flashing
Flashing around chimneys, vents, and skylights can become loose, leading to leaks. Securing it back in place is crucial to prevent further damage.
- Supplies Needed: You’ll need roofing cement, a caulking gun, and roofing nails.
- Inspection: Check the flashing for signs of rust or looseness. Loose flashing can be re-secured with roofing nails.
- Application: Apply a layer of roofing cement around the edges of the flashing using the caulking gun. Press it firmly into place to create a watertight seal.

5. Clear Debris
Debris can accumulate on your roof, leading to blockages and water damage. Removing it can prevent future emergencies.
- Necessary Tools: A broom, a leaf blower, or a garden hose can be used to clear debris effectively.
- Cleaning Steps: Use the broom or leaf blower to remove leaves, twigs, and other debris from your roof’s surface.
- Gutters and Downspouts: Ensure your gutters and downspouts are clear of debris to prevent water from backing up and causing roof damage.
6. Seal Small Cracks and Holes
Small cracks and holes can be fixed with roofing sealant to prevent leaks. Follow these steps to seal them properly:
- Materials Needed: Purchase a high-quality roofing sealant and a caulking gun.
- Identification: Identify small cracks and holes during your inspection. These are typically found around seams and joints.
- Sealing Process: Apply the roofing sealant to the cracks and holes using the caulking gun. Smooth it out with a putty knife to ensure a secure seal.
7. Secure Loose Gutters
Loose gutters can cause water to overflow and damage your roof and foundation. Here’s how to secure them back in place:
- Tools Required: You’ll need screws, a drill, and gutter brackets.
- Inspection: Check your gutters for loose sections. Secure loose gutters by tightening or replacing screws and brackets.
- Alignment: Ensure the gutters are properly aligned to facilitate effective water drainage away from your home.
8. Professional Help
Sometimes, the damage is too extensive for DIY repairs. That’s when it’s time to call in a professional roofing contractor. They have the tools, knowledge, and experience to manage any emergency roof repair effectively.
- When to Call a Pro: If you notice significant structural damage, extensive leaks, or if you’re unsure about the severity of the issue, it’s best to call a professional.
- Choosing a Contractor: Look for licensed and insured contractors with good reviews. Starway Roof Systems offers reliable services and can help you get your roof back in top shape.
- Scheduling an Inspection: Schedule an inspection to get a detailed assessment and an accurate estimate for repairs. Acting quickly can prevent further damage and higher costs.
Get the Roof Repair You Need
Maintaining your roof is crucial for protecting your home from the elements. By understanding and applying these emergency roof repair tips, you can address issues promptly and effectively. Remember, while some repairs can be handled on your own, don’t hesitate to seek professional help when needed.For a thorough inspection and expert emergency repair services, schedule an appointment with Starway Roof Systems today. Our experienced team is ready to help you keep your roof—and your home—safe and secure.